There are people who just love to roll up their sleeves and get down to a bit of serious kneading. I am not one of those people. I have bought, used and gifted more Panasonic bread machines than I can count. My best friend now when it comes to kneading bread is the Thermomix.
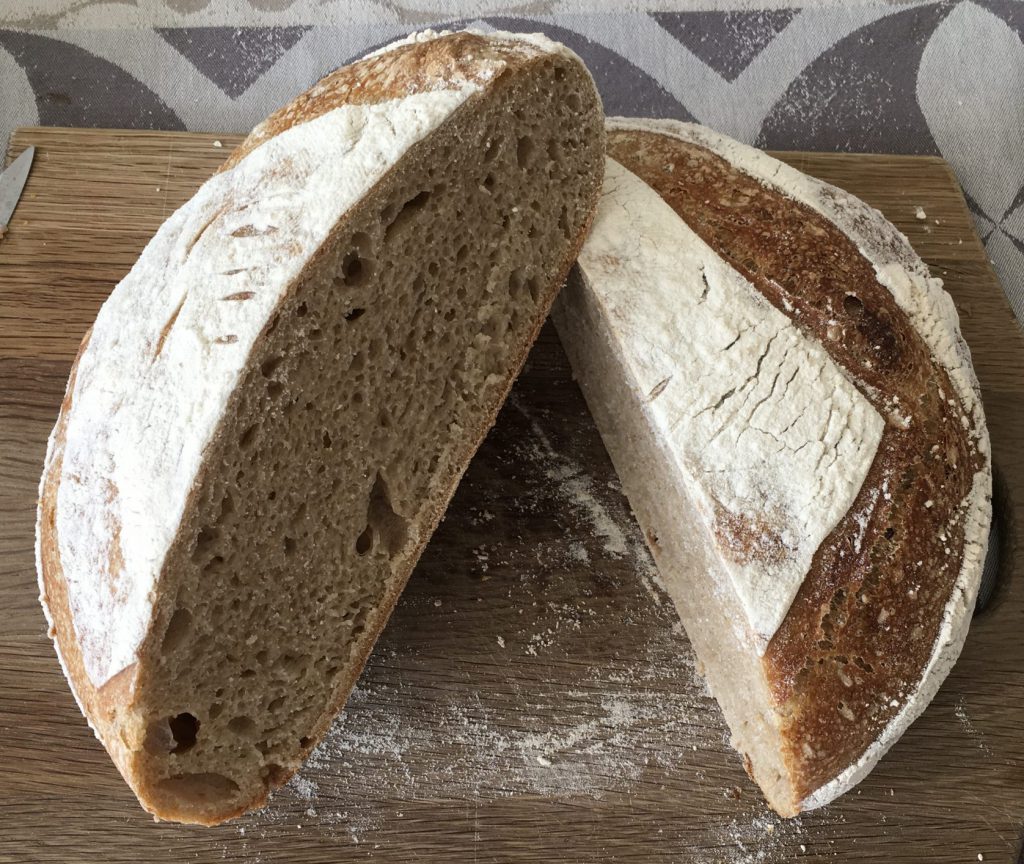
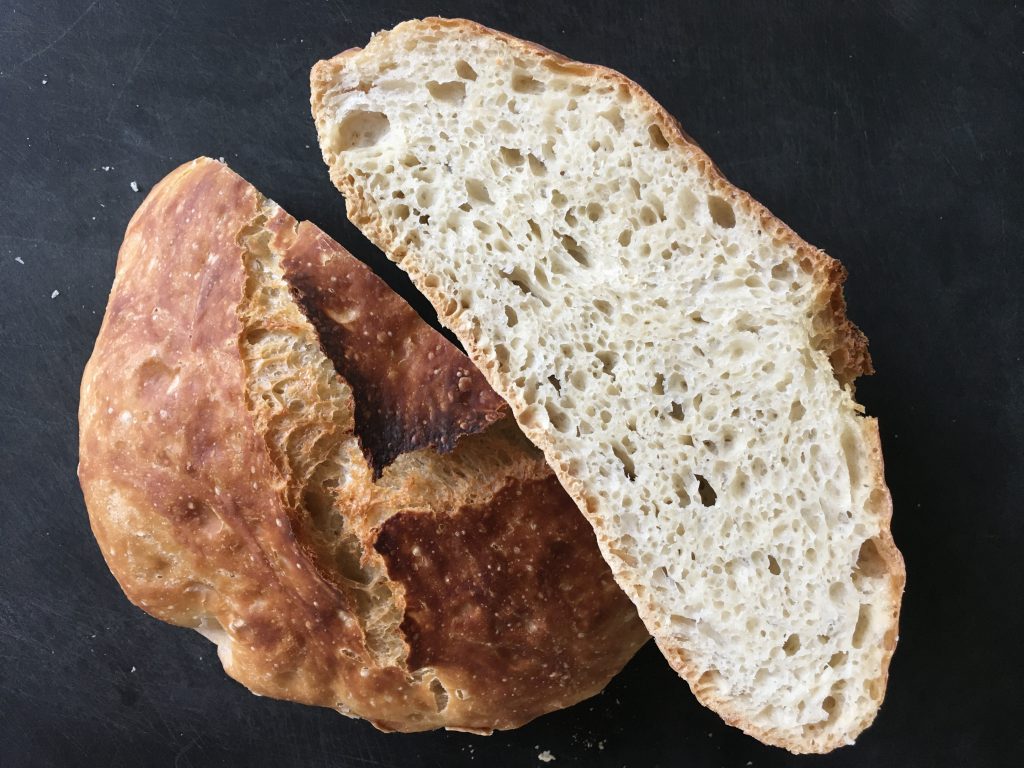
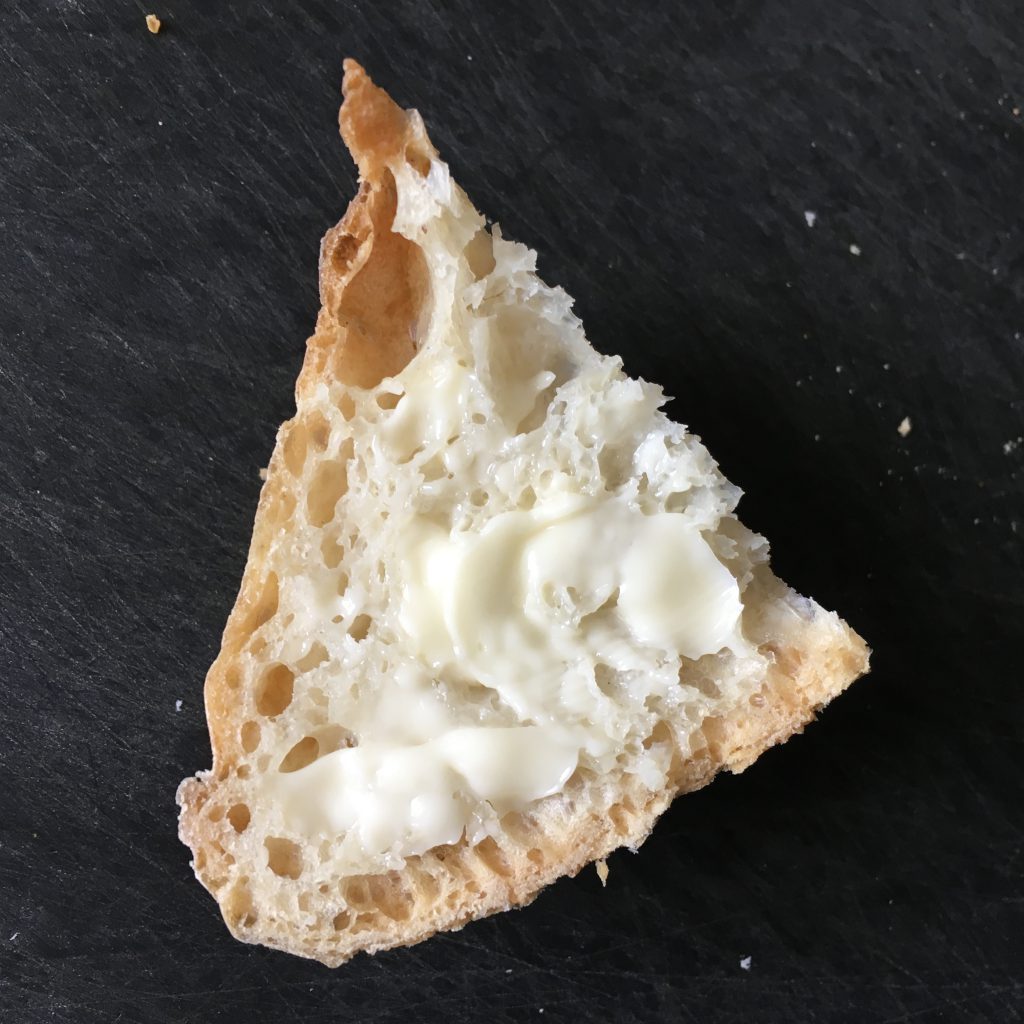
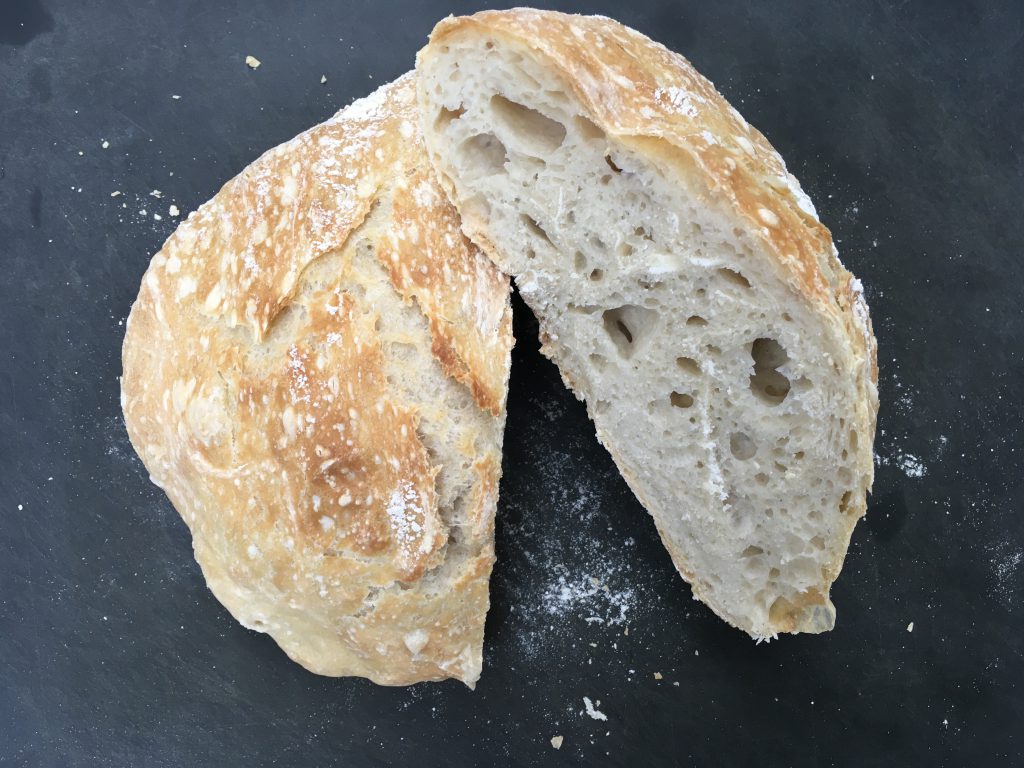
Almost all of the breads I make have soft crusts and soft interiors. The bread I love eating most is sourdough and so I have spent the best part of the past month trying to make a sourdough lookalike which is crusty on the outside and chewy on the inside.
At some point in my life I was bound to say this: raising bread is like raising children. You think you can look at other people’s children, read a few articles, trust your own judgment, aim to be hands-on and you are good to go. Not so with children, and not so with bread.
The truth is, I really want a fuss-free, low-maintenance life. I also want my breads (and children) to be like this. The reality is messier and more time consuming.
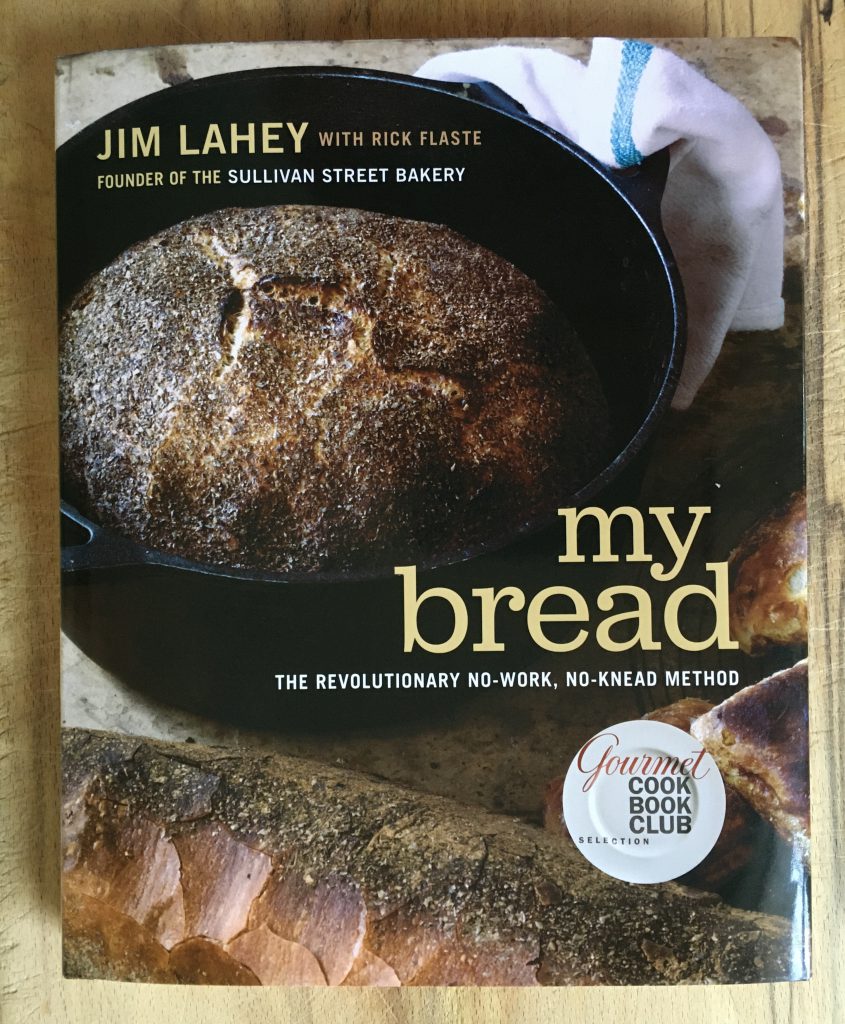
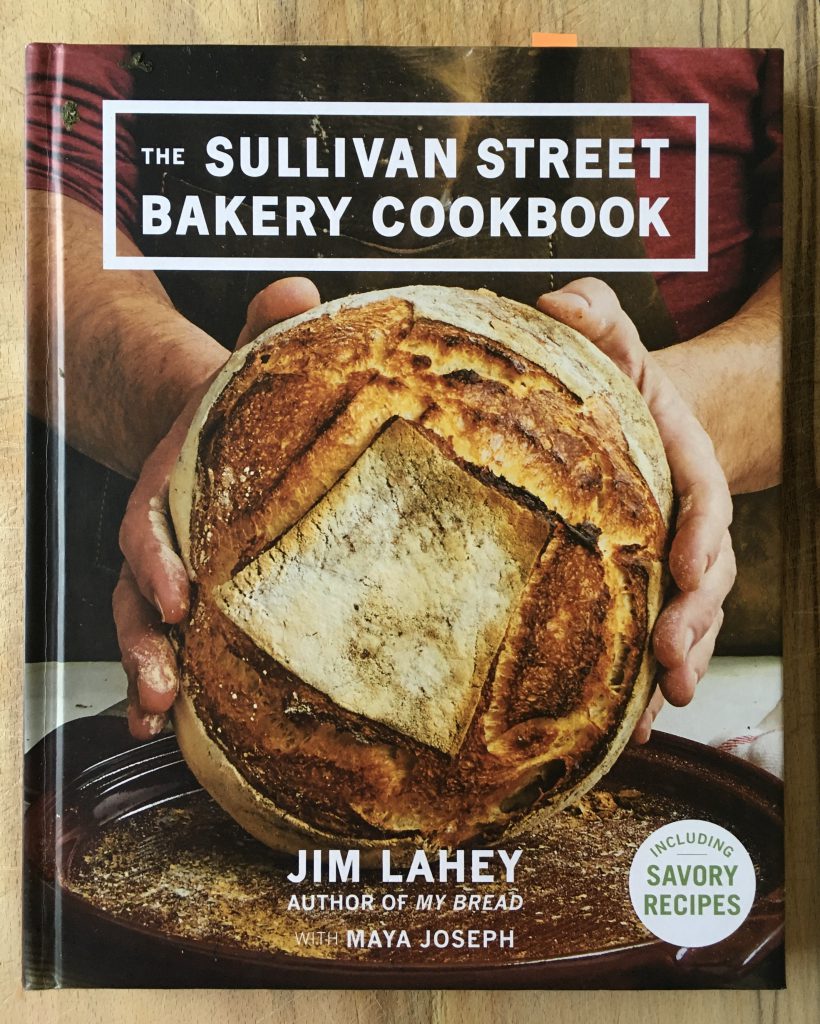
It was on a trip to New York that I came across Jim Lahey’s Sullivan Street Bakery and was made aware of his now legendary no-knead bread. For some armchair travel I went back to Mr Lahey’s books and read about his travels to Italy, setting up shop in New York, baking and of course how to make no-knead bread.
In between, I also dabbled with a sourdough starter and a faster version of no-knead bread which uses more yeast but would be ready in a few hours. Most of the loaves were passable and a few I could have written about. It was a time where I could not get a constant supply of yeast and flour so there were inconsistencies with the ingredients each time I made a new loaf.
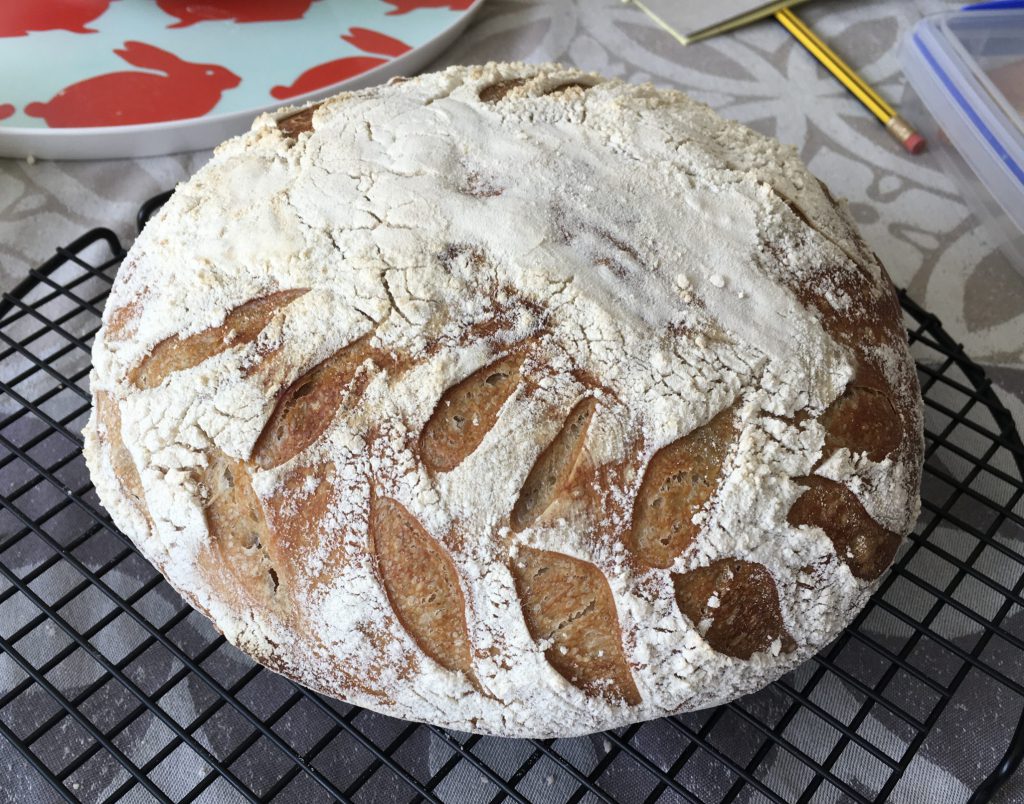
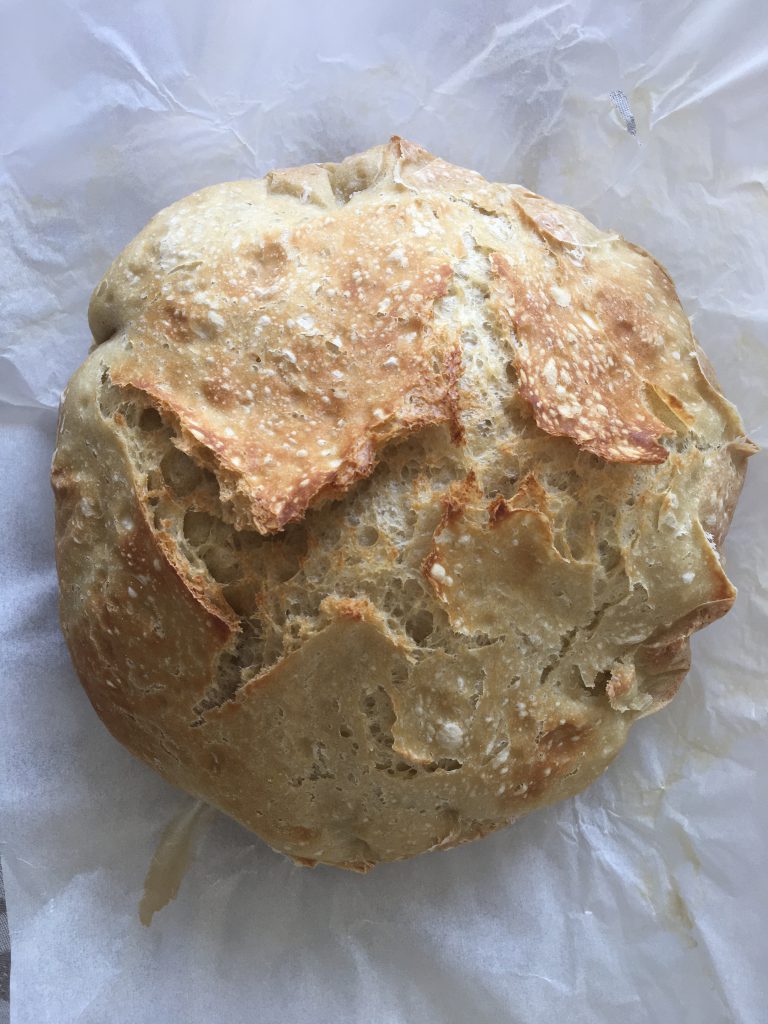
Last night I decided to start afresh with the basics of flour, yeast, salt and water. Learning from my mistakes and having worked out what works for me in terms of time, patience and availability of ingredients, here is the no-knead bread (and slight sourdough impersonator) I think I am finally happy with.
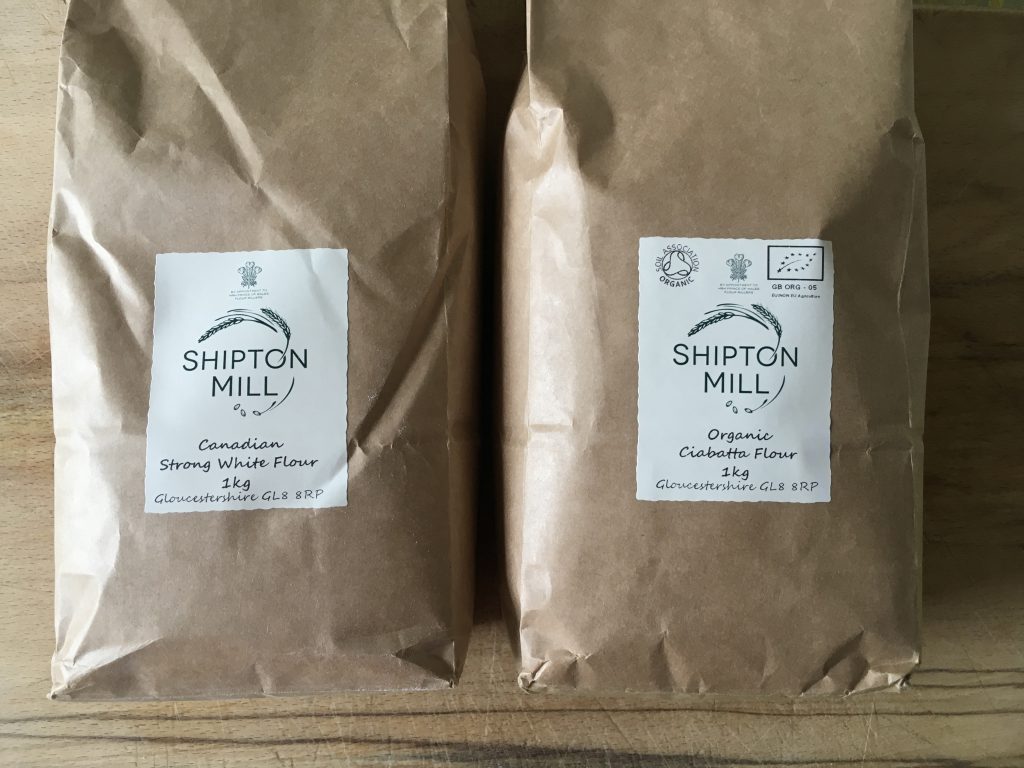
I will always be grateful to Shipton Mill for saving my sanity in this lockdown. They have a wide range of flours and for the no-knead bread, I found their Canadian and Ciabatta Flours to be best suited for this recipe, on account of their high gluten content which supports long fermentation and high hydration
Either dried active yeast or easy bake yeast can be used with this recipe as the amount used is so small that the difference is negligible
![]()
There is no shortage of articles on no-knead bread (Google returned about 18,000,000 results in 0.60 seconds) and I recommend reading some of them as primers before you start. The articles by flour manufacturers are especially good because they explain how their own flours suit certain types of breads. My own no-knead bread gets rid of everything I consider to be superfluous to making a good loaf to share with your friends and family around the dinner table.
For the Bread:
400 g strong (i.e. high protein or high gluten) white bread flour
¼ teaspoon (1 g) instant dried yeast/ active dried yeast
1¼ teaspoons (8 g) fine sea salt
350 g bottled still water, at room temperature
1 teaspoon olive oil
You will also need 2 large mixing bowls and a 5 litre cast iron pot with lid (Le Creuset, Staub or Lodge).
How to Make:
(supporting notes are at the bottom of the post)
Place the flour, yeast and salt in a large mixing bowl and mix together using a silicone spatula, wooden spoon or your hand.
Add the water and stir until you get a rough dough, no more than 20 – 25 seconds in total. Scrape off any residual dough from the spatula, spoon or your hand with the back of a table knife.
Cover the bowl with cling film or a silicone food lid.
Let the dough rest for at least 12 hours, preferably 18 hours, at a warm room temperature of around 20 C.
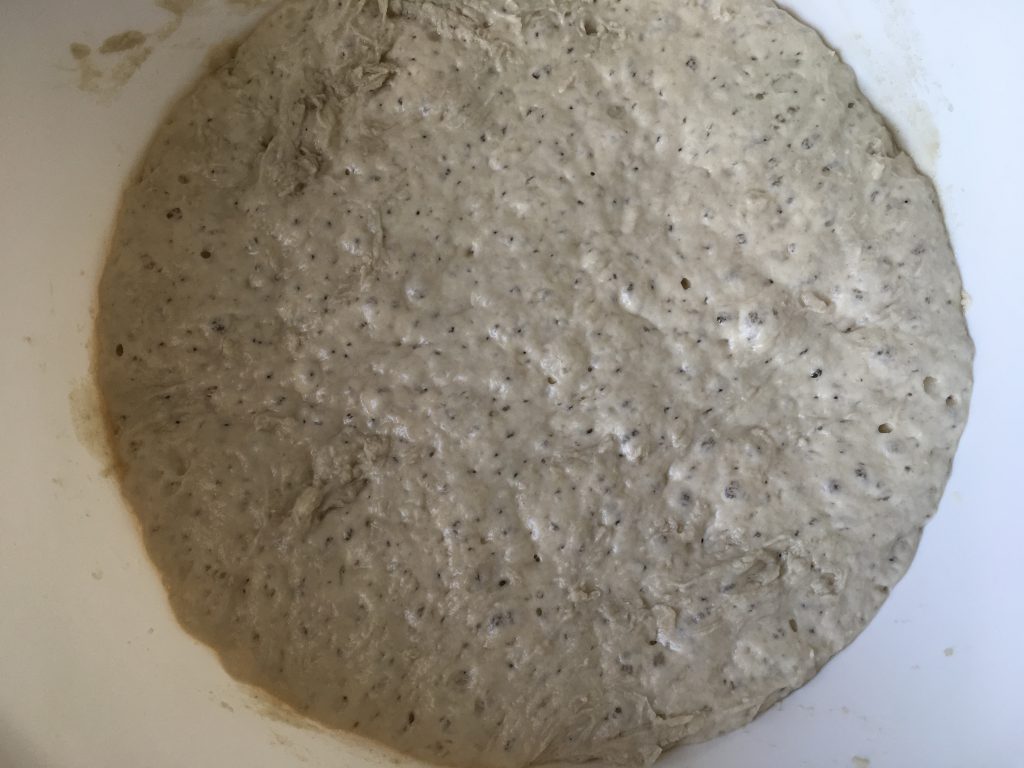
The dough is ready when its surface is dotted all over with small bubbles.
Prepare a sheet of baking paper (30 x 50 cm) and spread the olive oil around the centre of the paper.
Using a plastic scraper, release the dough which has now stuck to the side of the bowl. Slide the scraper underneath the side of the dough and gently but quickly fold it towards the centre. Continue going round the bowl, scraping and folding, and soon you will end up with a ball of dough.
Using one final sweeping movement, scrape the ball of dough onto the centre of the oiled sheet. Do not be tempted to tidy up or further shape the ball of dough.
Place the sheet and dough into a mixing bowl and leave to rest and rise until it has doubled in size. This takes about 1 – 2 hours depending on the room temperature.
At least half an hour before the dough is ready, heat the oven to 245 C. Put the covered pot in the oven to heat up.
When dough is ready, carefully remove pot from oven, using an oven glove. Take the cover off and place to one side.
Pick up the dough on all four corners of the baking paper and gently place straight into the pot.
Replace the lid and return the pot to the oven. Bake for 30 minutes, remove lid and bake for another 15 minutes or until the crust is as brown as you would like it to be.
Remove the pot from the oven and using a flat wooden spatula, lift the loaf out and cool it on a wire rack.
Do not attempt to cut into the bread for at least 45 minutes as it really needs to cool down before being cut and eaten.
Explanations. Or, what I learnt from a month of making mistakes.
Mixing the flour and water using a silicone spatula, instead of your fingers or a wooden spoon, creates the least amount of stickiness and makes washing up easier.
I used tap water, filtered water, water warmed to 37 C and finally settled on bottled still water because (like the flour, salt and yeast) it would always be at room temperature.
If bread flour is unavailable, then all-purpose flour (called plain flour in England) is a good substitute. Here is an article about different types of wheat flours.
My room temperature here in London is often colder than 20 C, especially in winter, so the dough takes longer to rise (up to 24 hours). In tropical weather the dough will rise at a much faster speed. In London I start mixing the dough at 8pm in the evening and then attend to the risen dough at 8am the next day, and up to 2pm in the afternoon.
The dough is ready to scrape into a ball after 12 hours or when its surface resembles what you imagine was Mrs Chen’s (of mapo tofu fame) pock-marked face.
The olive oil at the bottom of the baking sheet ensures that the dough does not stick to the paper when baking. Flour works as well but it made the bottom of the bread look anaemic and I wanted a brown crusty bottom to the loaf.
Towards the end of the second proof, some articles advise pinching or poking the dough to check if it is ready to bake. I never found this made any difference. As long as you can see that the dough has risen to twice its original size, it is ready for baking.
Preheating the cast iron pot and lid ensures that the intense heat forces the water in the dough to ‘rise’ thus creating air pockets in the bread. The heat also creates the dark and crunchy crust.
Although I have not tried it, I think you can bake the bread on a flat baking tray in a pre-heated oven without a pot. As the dough is quite soft due to the high percentage of hydration it might not rise as well as if it were supported by a surrounding pot. The crust might brown faster than the interior can cook. I guess I am not curious enough to find out and also, yeast and flour are precious commodities at present. In my month of experimentation, even when I made bread not up to standard we ate every bit until the end.
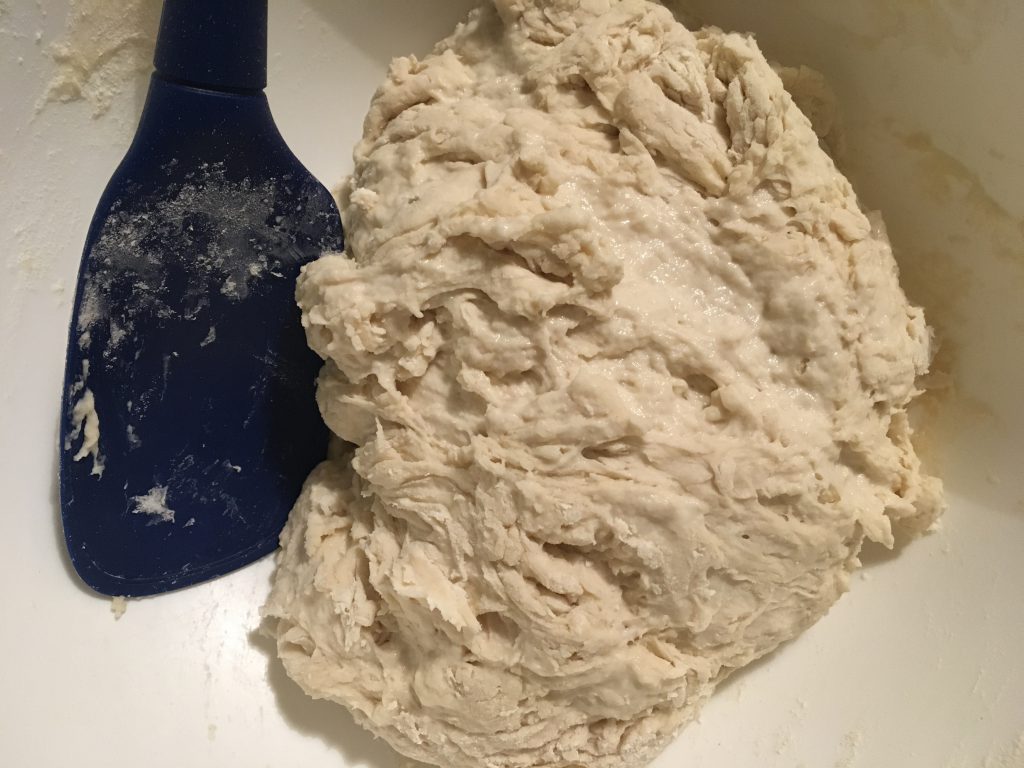
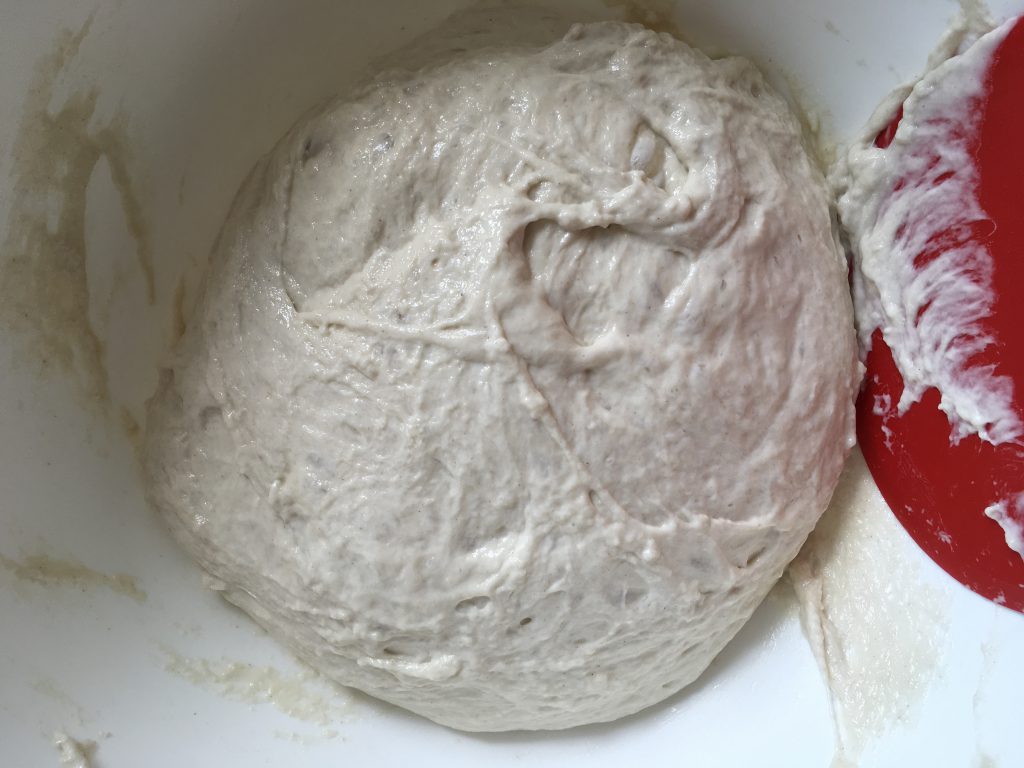
Stages in Making
Bringing together the flour, yeast, salt and water
The dough after being left for 12 hours untouched
The dough after being scraped into a ball, ready for proofing
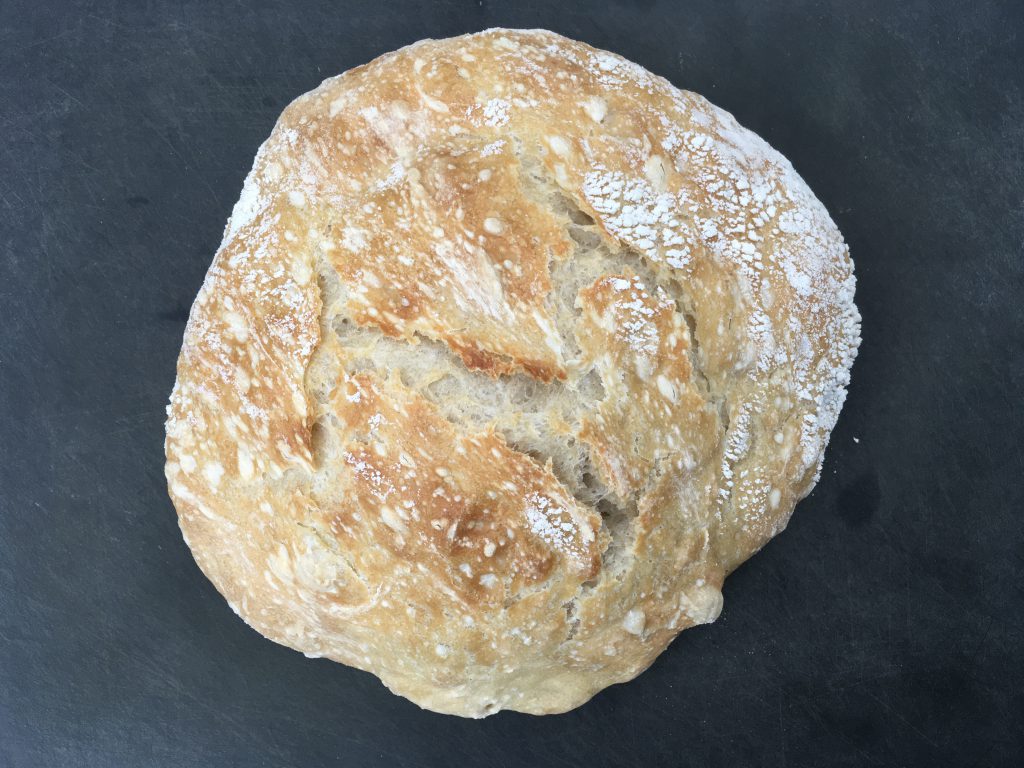
Some earlier attempts
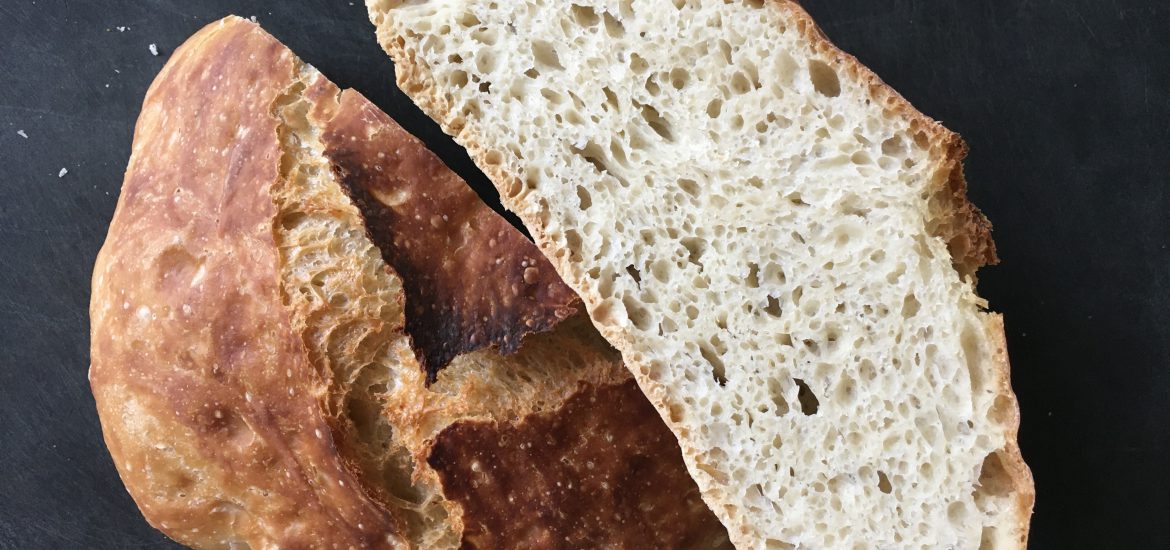
Fast no-knead loaf with 2 teaspoons instead of ¼ teaspoon of yeast, which took around 4 hours from start to finish
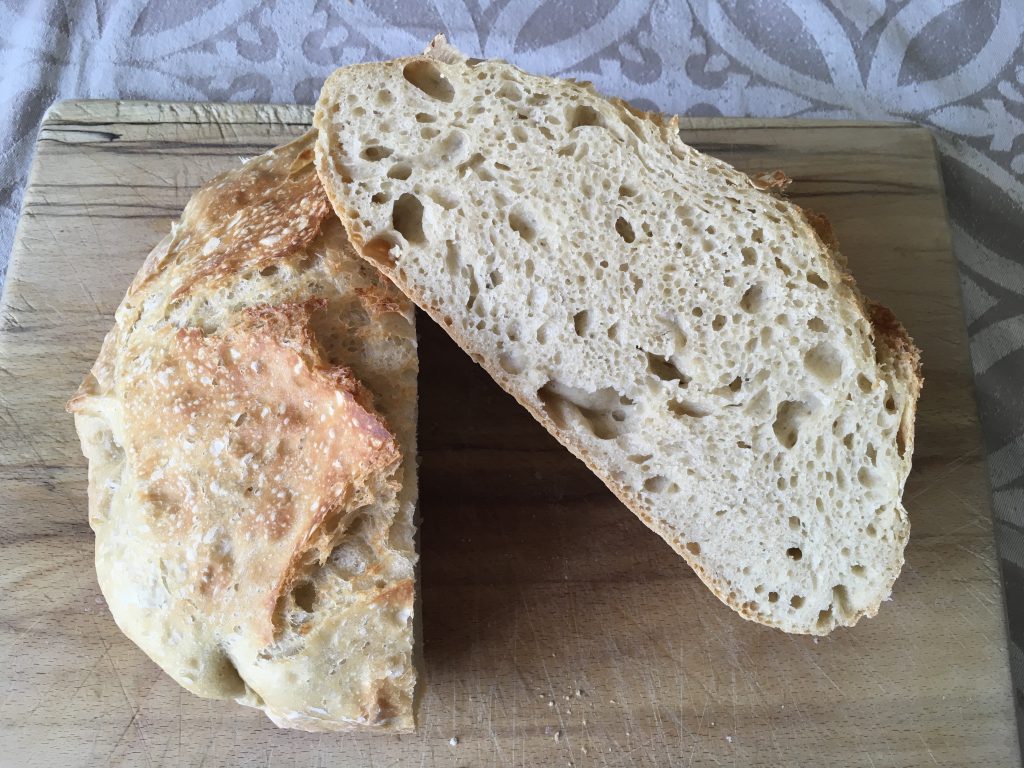
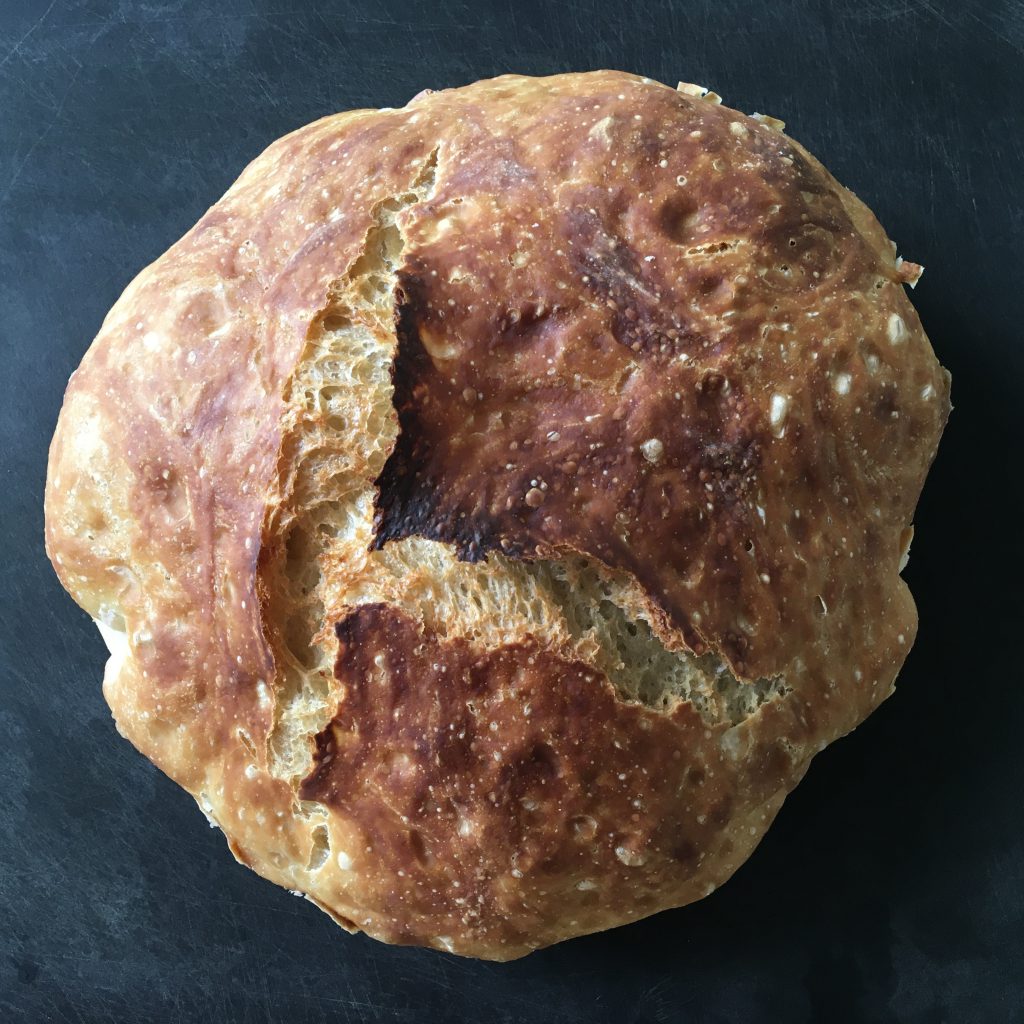
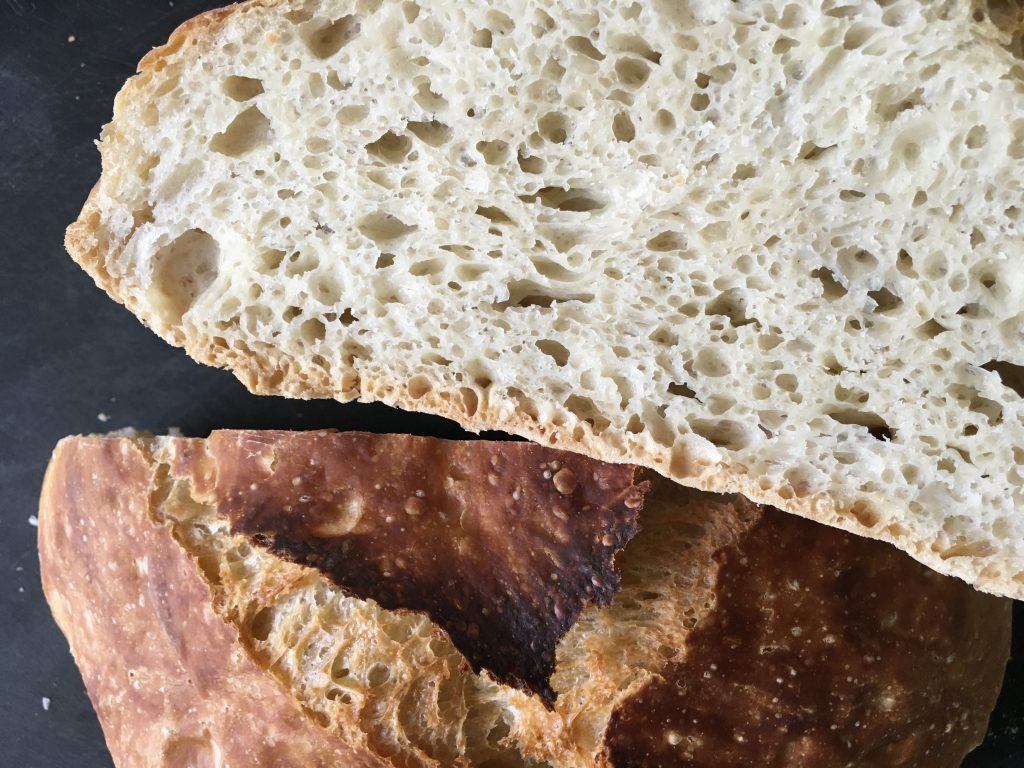
One of the first attempts with inconsistent crumb structure
I feel I might need to start trying to make a sourdough starter and sourdough bread again. Juniors 1 and 3 are really dedicated and they have made many successful sourdough loaves. I realised the difference between their approach and mine is that I am always thinking how can I make things simpler? whereas their approach is always to stick to the party line when it comes to baking. Their insecurities versus my vast experience actually puts them in a better position when making something as precise as sourdough. I am continually learning from the children.
What Junior 3 made when I was struggling with no-knead bread