I have always liked soya milk but have struggled to get a good method going that did not involve an array of equipment and a multitude of separate tasks.
Many years ago I bought a dedicated soya milk maker which I passed to Nottingham Cousin after I bought my Thermomix. I could make soya milk in the TM but it was messy, or at least the recipe I had caused an overspill that took absolutely ages to clean. Ever since then I have avoided another attempt at making soya milk by any method.
Recently I had a chai latte followed by a matcha latte at the superb Press Coffee and the effect of too much milk gave me an upset tummy. Last Friday I had two glasses of House Chai at Dishoom made with oat milk and that seemed fine, so I started thinking again about milk alternatives.
To cut a long story short, I researched oat, nut and soya milks. I also looked at the ingredients list of commercially made milk alternatives and decided it would be better to make my own. I settled on soya milk as it is something I grew up with and therefore know what I am aiming for in taste and texture.
There are many recipes for soya milk on the internet, all with different methods. The only common thing is that the dried soya beans must be soaked overnight before using.
Method 1: Puree the soaked beans with water then boil until cooked. Strain the milk, removing the pulp.
Method 2: Puree the soaked beans with water then strain, removing the pulp. Boil the milk.
Method 3: Boil the soaked beans with water. Puree the boiled milk then strain, removing the pulp.
Method 1, which I had used previously, resulted in the dregs catching at the bottom of the pot. It also created a lot of foam which spilt out of the pot. This time I tried Method 2, which worked well and tasted good so I am sticking to it. As mentioned, I used my Thermomix as this was the only way I could cut down on the work.
This morning Mr Gochugaru asked me to taste the home-made milk alongside the Waitrose soya milk and I am pleased to say the home-made version was vastly superior. Sadly, it won’t win many converts. When I suggested to Junior 2 that she could now make her own soya milk when she moves out she said it was too much fuss and it would be easier to buy a ready-made packet.
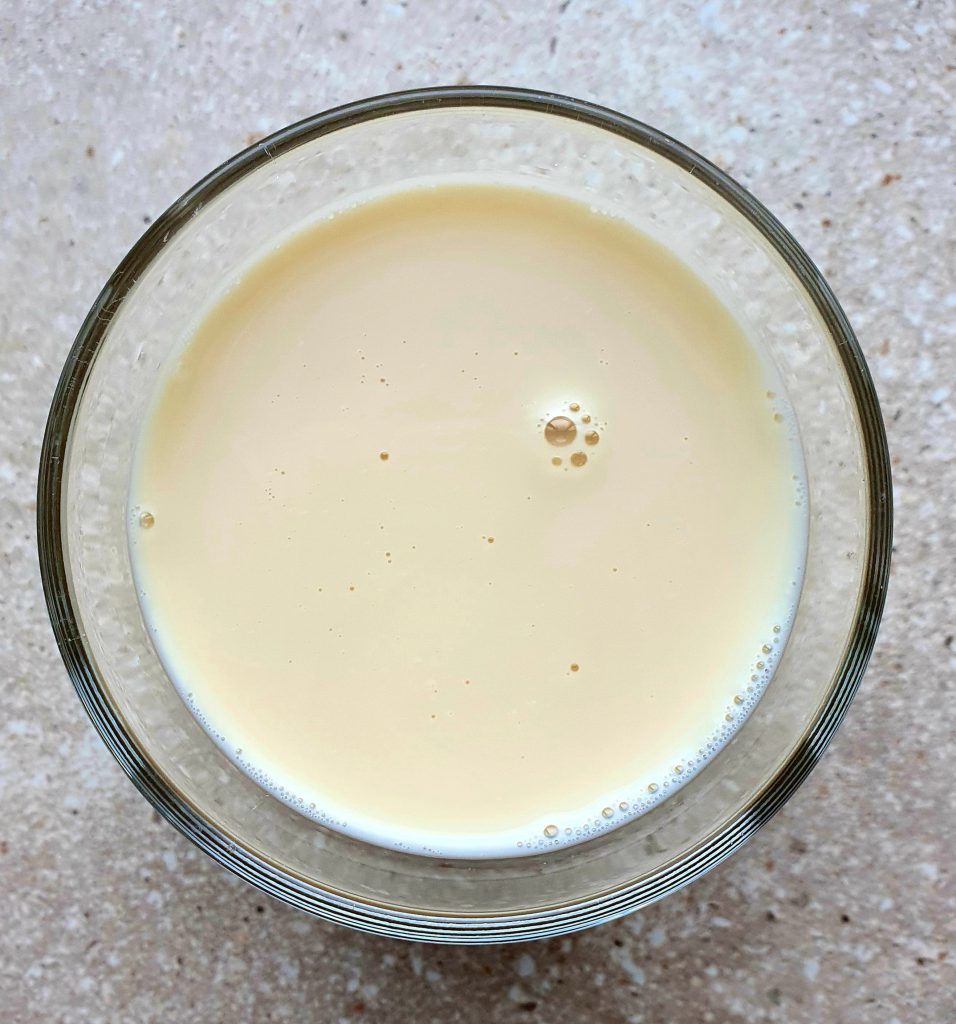
Unsoaked dried soya beans

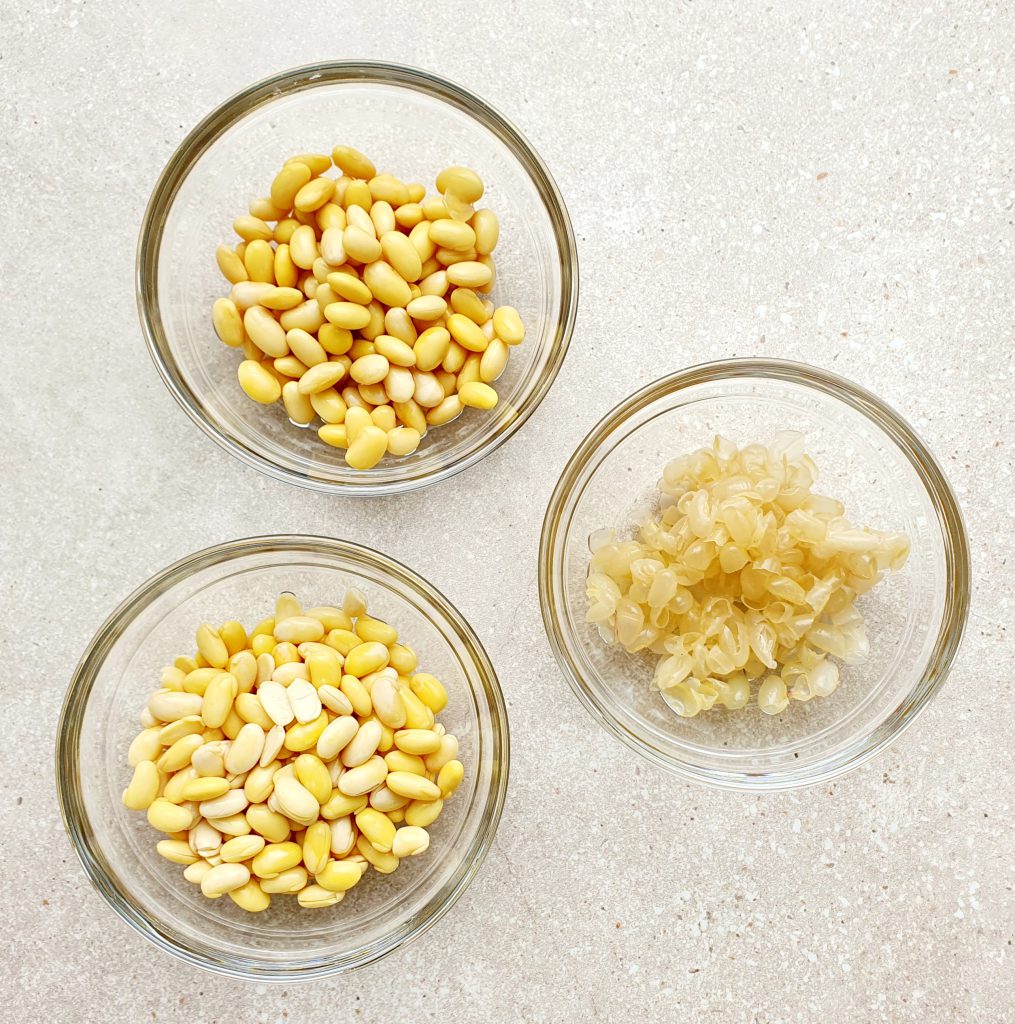
From top left: soaked beans, beans with the skin removed, leftover skins. It is not necessary to remove the skins before blending, and I only did this out of interest
For the Milk:
200 g dried soya beans, soaked overnight
1200 g water, plus extra for soaking
3 pandan leaves (fresh or frozen), tied into knots
2 tablespoons unrefined caster sugar, honey or maple syrup for sweetening the milk
How to Make:
Soak the soya beans overnight in plenty of water. I would recommend soaking for 8 – 12 hours.
Drain the soybeans in a colander and place in the TM bowl. Add 600 g of fresh water and blend 1 minute / speed 8.
Add another 600 g water and mix 10 seconds / speed 3.
Place a nut bag or a piece of muslin cloth in a colander and strain the milk into a large bowl.
Meanwhile, rinse out the TM bowl, lid and measuring cup as you will be using them again.
Using your hand, squeeze out as much milk as you can from the pulp. This reminded me of squeezing the milk out of freshly grated coconut when I helped my mother and grandmother in the kitchen.
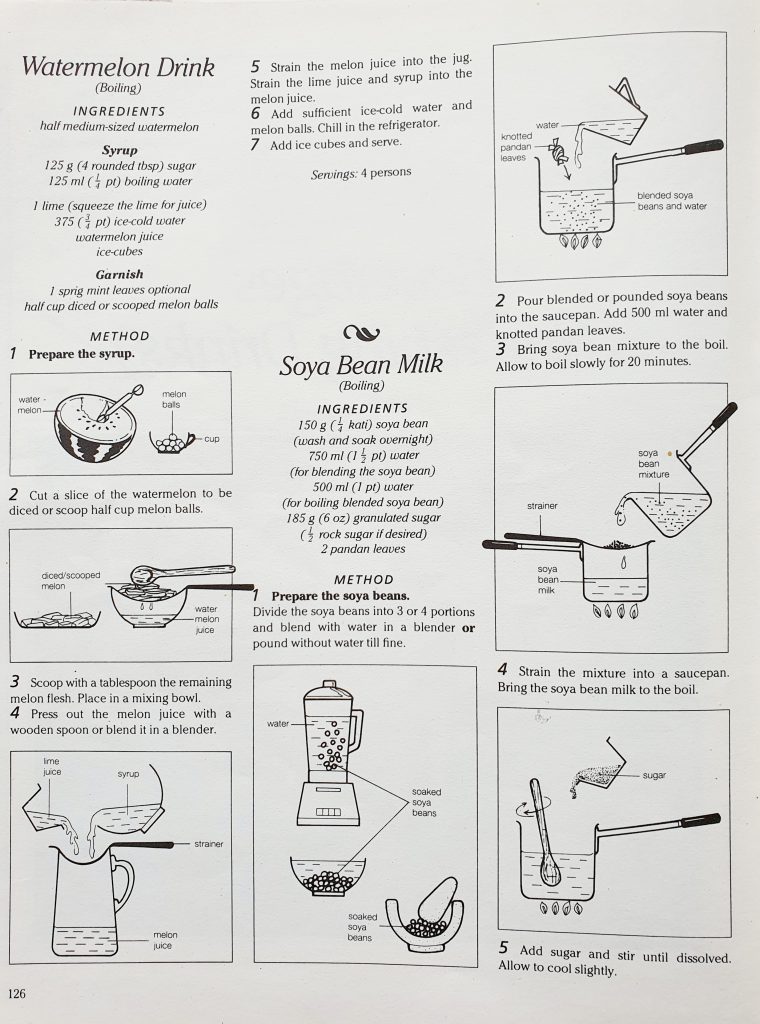
Place the reserved soya milk and knotted pandan leaves into the TM bowl. Place the simmering basket instead of measuring cup onto mixing bowl lid. Cook the milk for 18 minutes / 90°C / speed 2.
Remove the pandan leaves. The milk can be left plain if you prefer, or add 2 tablespoons unrefined caster sugar, honey or maple syrup to sweeten very slightly.
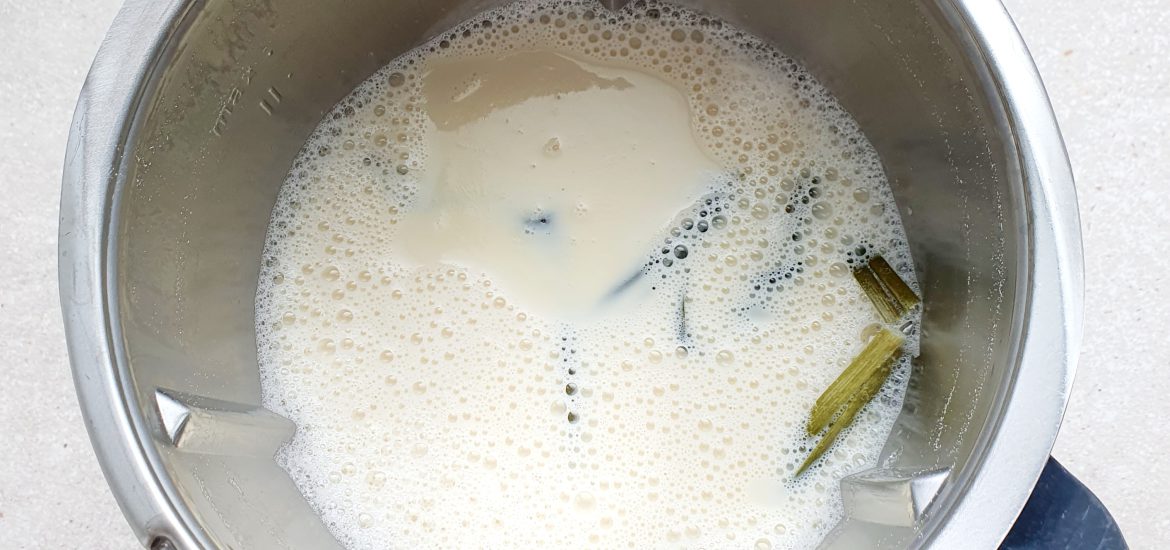
This will yield around 1.2 litres of soya milk. The texture of this soya milk is richer than any commercially made ones, so feel free to dilute with some water if you prefer a thinner consistency.
Cool the milk before storing in the fridge, if you are not serving it straight away.
I enjoyed drinking the soya milk hot, but it was actually very good chilled and served with my breakfast granola the next day
This is the leftover soya bean pulp when the milk has been extracted. It is called okara and you can add it as an ingredient to some recipes, but I might use mine as a natural fertiliser in the communal garden
![]()
Post Script:
Here is my original recipe from a school cookery book. The reason I can cook so well is because I was taught Home Economics by passionate teachers using very basic recipes and methods. They always encouraged the students to trust our own taste and to plan ahead. Without photos of the finished product we had to rely on our imagination and get creative in presentation. Unfortunately I am still lacking when it comes to plating up food and so rely on beautiful serve ware instead.